

Turn on two-factor
- Open Security
Sidebar → Security, or the red “Needs 2FA” light on your dashboard. It links straight here.
- Click Enable 2FA →
A QR code appears.
- Scan it with your authenticator
Google Authenticator, Authy, 1Password, Apple Passwords: anything TOTP. Can't scan? Type the manual key shown under the QR.
- Enter the 6-digit code and click Verify & enable
The app now shows a fresh code every 30 seconds; you'll enter one at each sign-in.
- Save your backup codes
Ten single-use codes appear exactly once. Put them in your password manager now: they're your way in if you lose the phone.
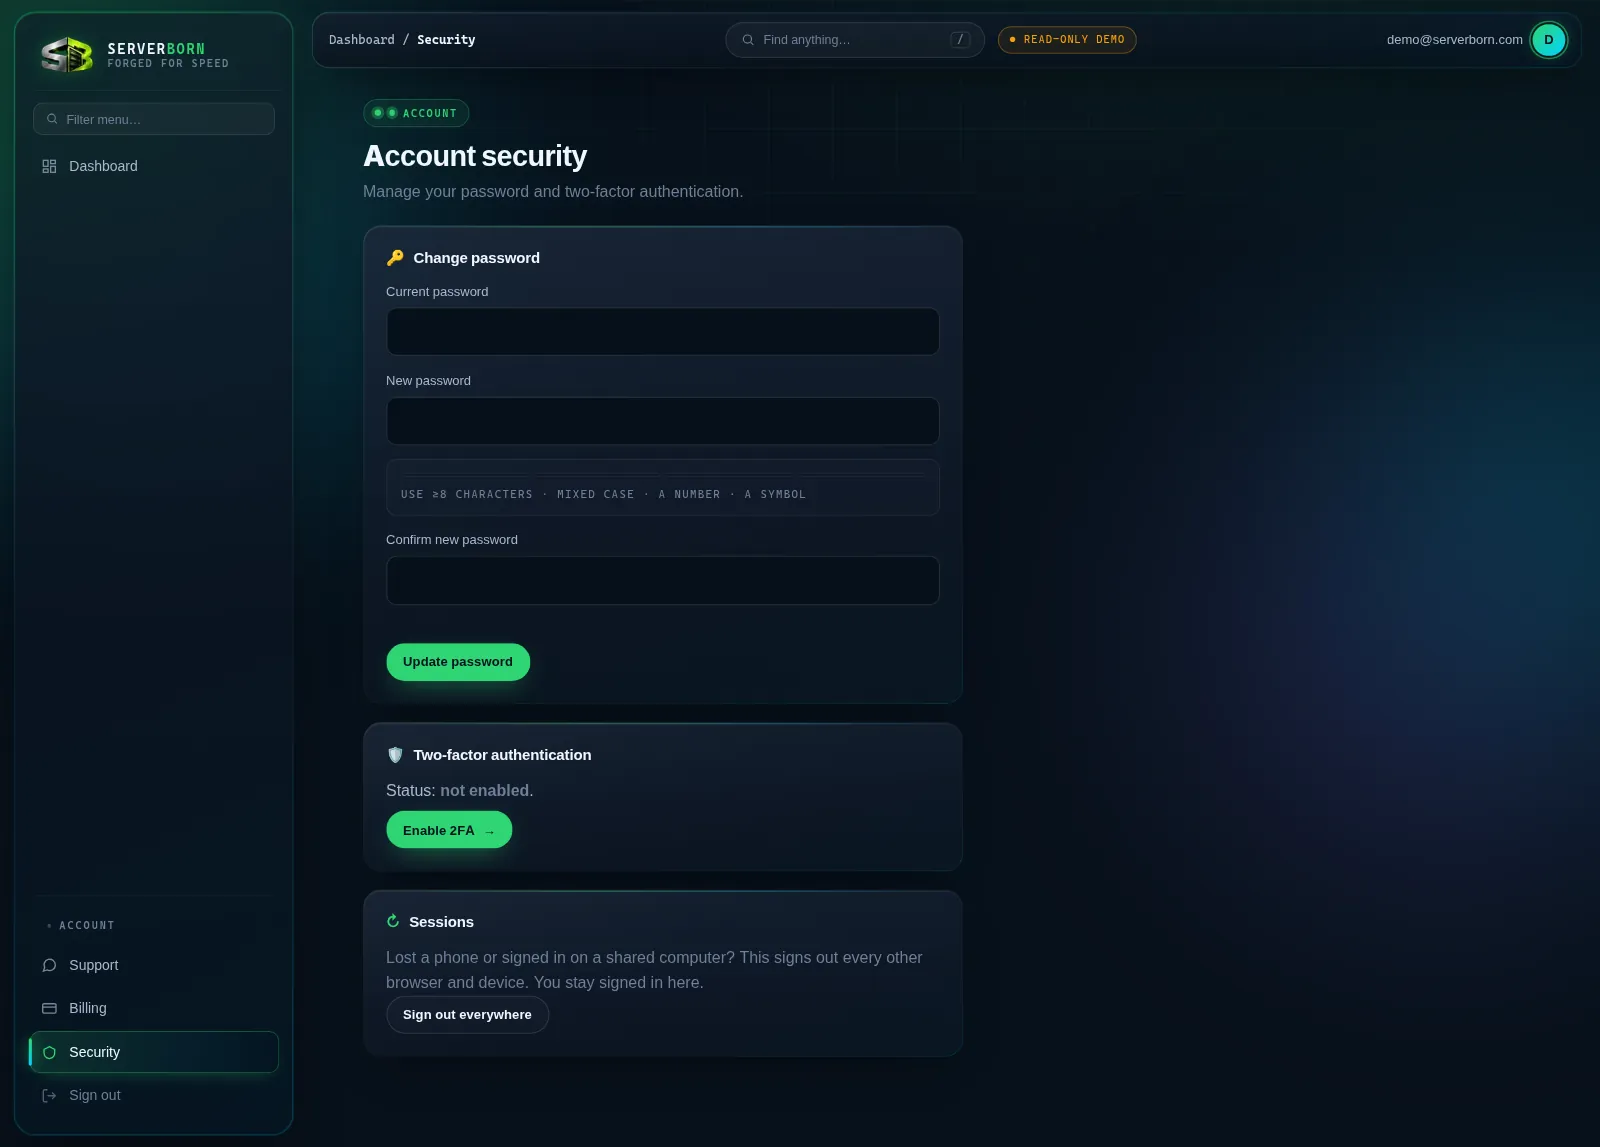
Change your password
- Enter your current password
In the Change password panel.
- Type the new one twice
The meter under the field pushes you toward 8+ characters with mixed case, a number and a symbol. The match indicator confirms both fields agree.
- Click Update password
Instant. Your session stays signed in.
Looking after your websites too? The Malware scanner checks every site on your plan every night and lets you quarantine anything suspicious in one click.
Lost your authenticator?
- Have a backup code? Use it at the 2FA prompt like a normal code. Each works once. Then disable and re-enable 2FA to pair the new phone.
- No backup codes? Open a ticket from the ServerBorn contact page. We verify ownership manually before touching 2FA: that slowness is the security.
Can I turn 2FA off?
Yes, from the Security page with your password, unless your account is marked 2FA-required. We recommend leaving it on: it's the single highest-value security switch you have.
Does 2FA affect my WordPress logins?
This protects your ServerBorn panel account. For wp-admin itself, add a WordPress 2FA plugin, and use the panel's one-click admin-password reset if you ever lose a WP password.